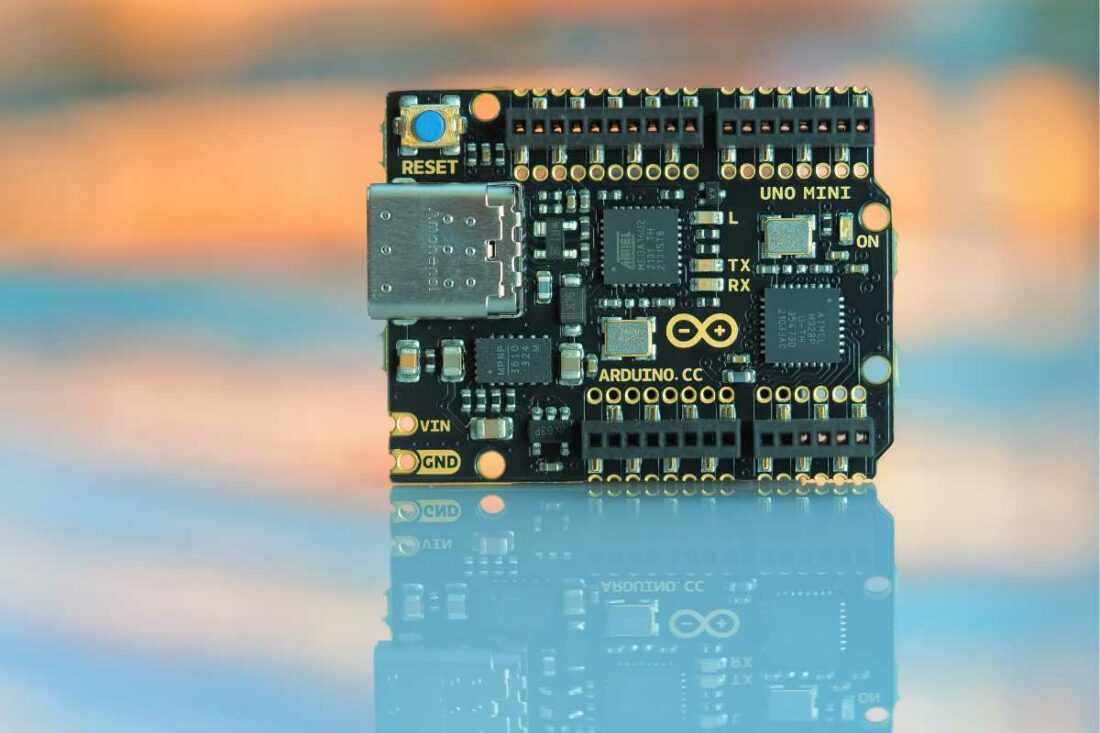
Grow a smart garden with Arduino
Growing a smart garden with Arduino is easier than you might think. I have been working with Arduino for a decade now. It’s a super tool for beginners and hobbyists. Imagine, just a bit of coding can help monitor and care for your plants.
I did already some Arduino plant projects with a few classes and can recommend to start with a soil moisture sensor. This sensor measures the moisture level in the soil. When the soil gets too dry, it can trigger a notification or even turn on a water pump. It’s quite practical!
First, you’ll need an Arduino board, the soil moisture sensor, and a few other components such as resistors and wires. You can find plenty of starter kits online that include everything you need.

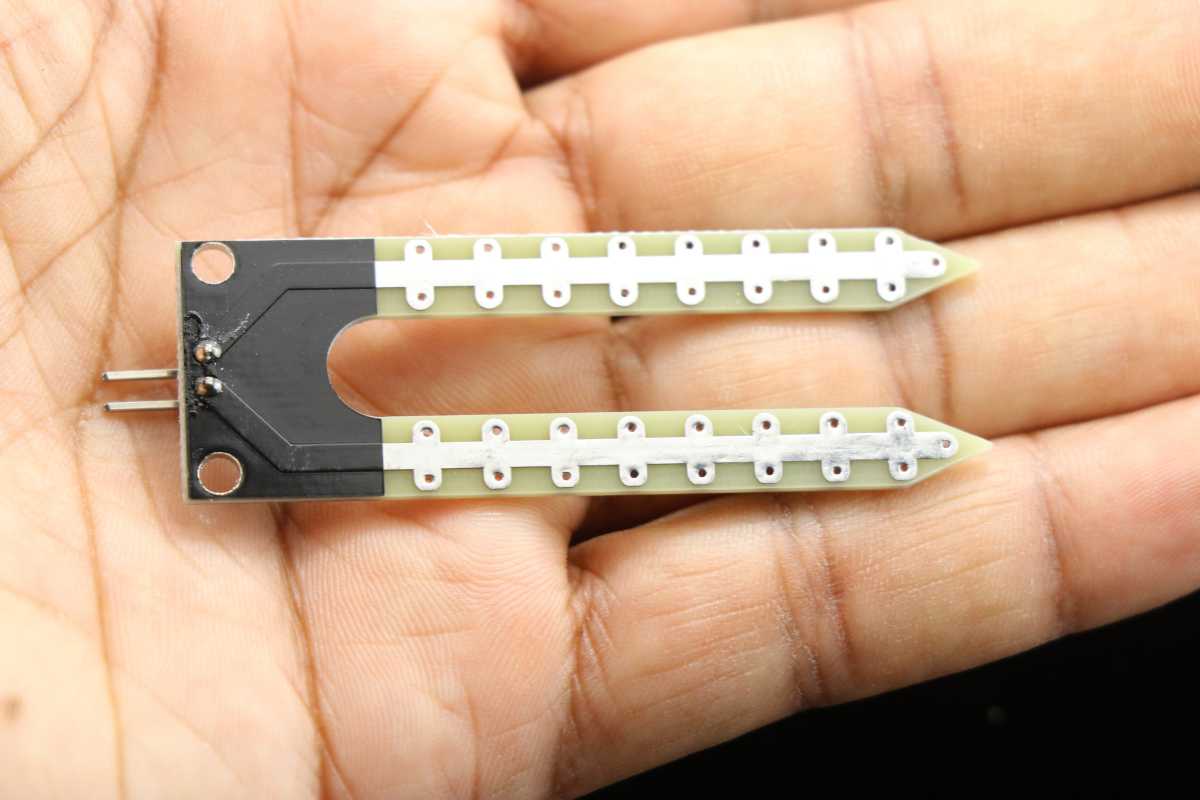

GET STARTET WITH ARDUINO:
STEP-BY-STEP
1) Purchase an Arduino starter kit, which typically includes an Arduino board, cables, sensors, and other components.
2) Download and install the Arduino Integrated Development Environment (IDE) from the official Arduino website.
3) Start with basic tutorials provided in the Arduino IDE to understand how to write and upload code to your Arduino board.
4) Begin with simple projects like blinking an LED or reading sensor data to get familiar with coding and hardware interaction.
5) Gradually move on to more complex projects as you gain confidence, exploring sensors, actuators, and various Arduino modules.
6) Engage with the Arduino community online, where you can find support, share ideas, and discover new projects.
